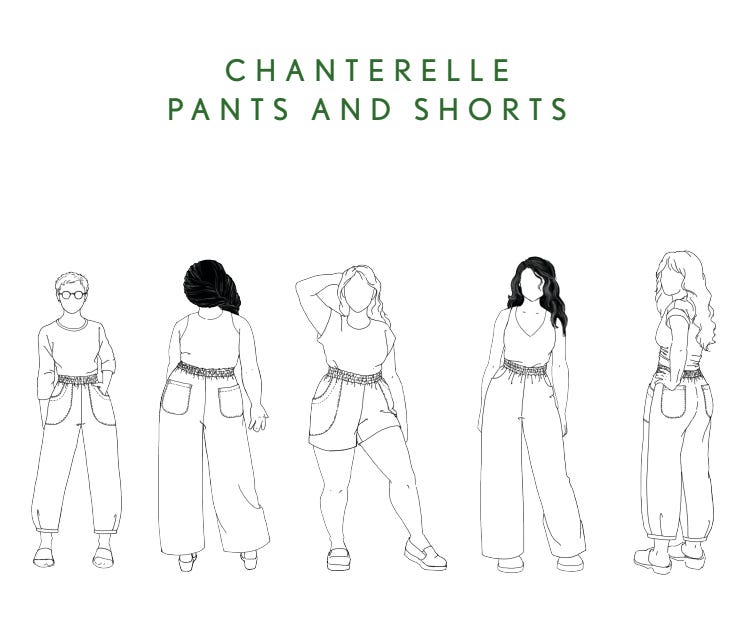
The fact that this year I have made not one but TWO pairs of pants is astounding. Groundbreaking. This post focuses on the process of sewing the Chanterelle Pants by Sew Liberated. Which is currently 30% off for Me Made May!
The Pattern
I have a couple of Sew Liberated patterns and I really appreciate how they set up their PDF copies. Each size not only has its own dot dash pattern, it has its own COLOR. Which saves me so much time trying to highlight the size I need around each and every pattern piece. And some of the patterns have encouraging safety pin doodles.
The pattern has a great variety of views! There is a wide leg version, a tapered version and shorts. I chose view A the wide leg version and I know I would love to make the shorts this summer.
They’ve also created a zipper fly expansion pack but I am still afraid of pants zippers!
Sizing
I believe I made the size 12 based on the finished garment measurements and cut the seam allowance in half as a way of “grading between sizes.” I don’t know if this is a wise decision but that’s what I did.
For the length, I am 5ft 3in (160cm?) and I cut off maybe 5 to 6 inches of length. This gave me a slightly cropped pant and I kept my off cut so I can add back some for a more full length option! I held up the paper pattern against a pair of pants I like the length in and tried to gauge based on those leg lengths.
The Fabric
Last Fall, I picked up a navy fineline Twill from my local yarn/fabric store Freeman’s Creative specifically to make the pants. I like the crispiness without being overly structured quality!
The Sewing
There were a few points during the sewing process that gave me pause. I think mostly this comes from my lack of pants experience.
My notes:
The back pockets, my first attempt doing a curved patch pocket with medium results. I think with practice I could do a better job.
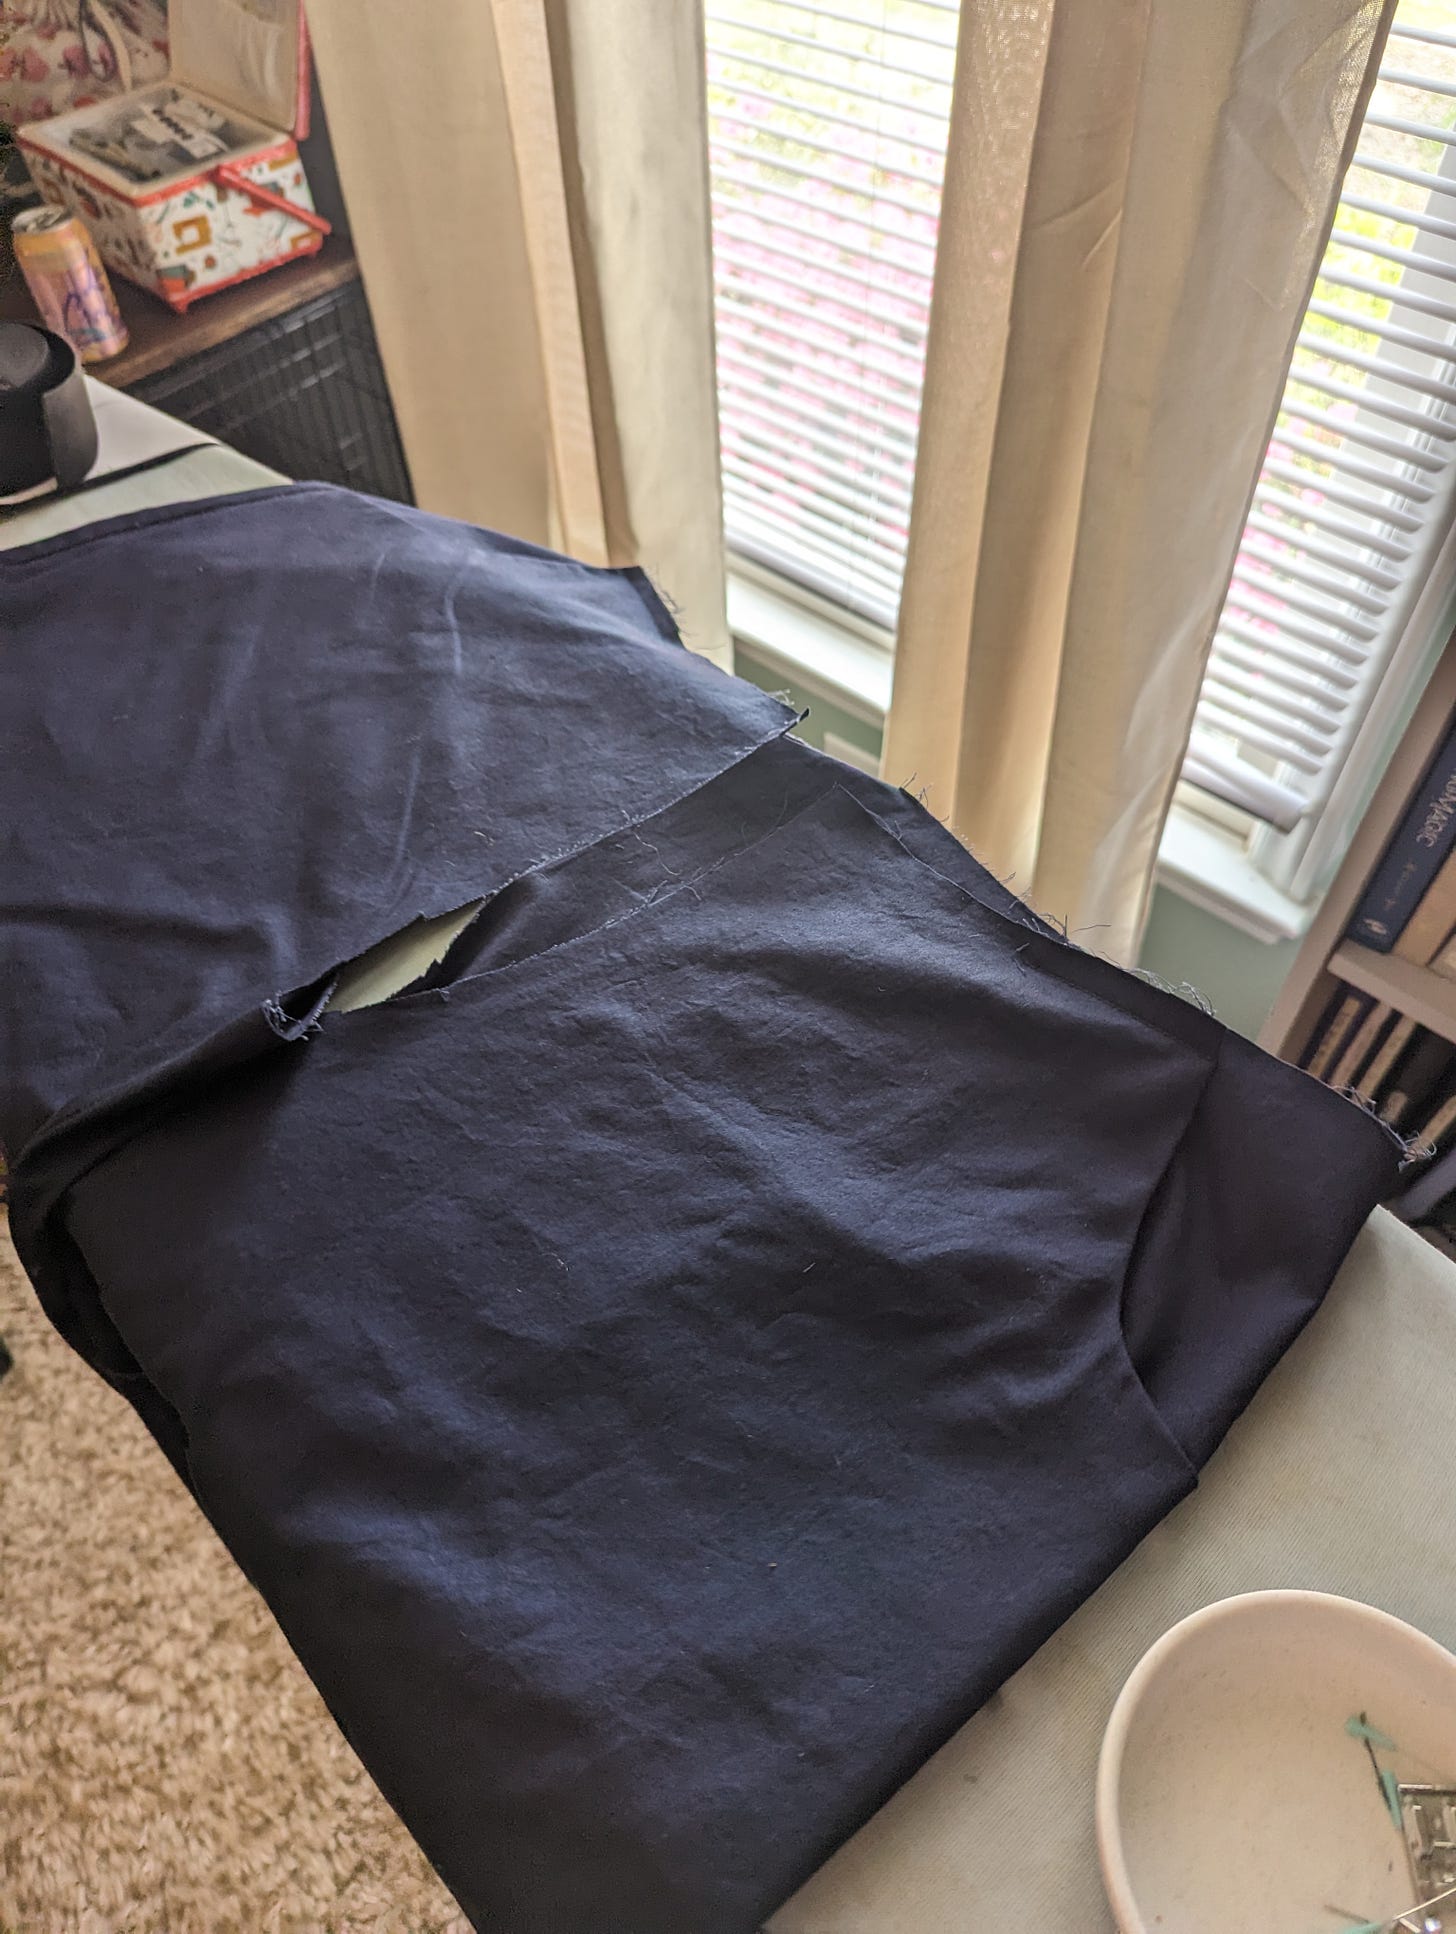
Adding the front pockets took me some time to sort out. Again, I think part of this is my lack of pants experience. Using the diagrams and re-reading a couple of times got me going in the right direction.
I like how they have you assemble the pant pieces. It was easy to do! I didn’t make any mistakes like the first time I assembled pants.
I like how they explain adding the elastic. I did skip the zig zag step and I am regretting it. The elastic keeps folding on itself. So I need to go back and add that.
Fit:
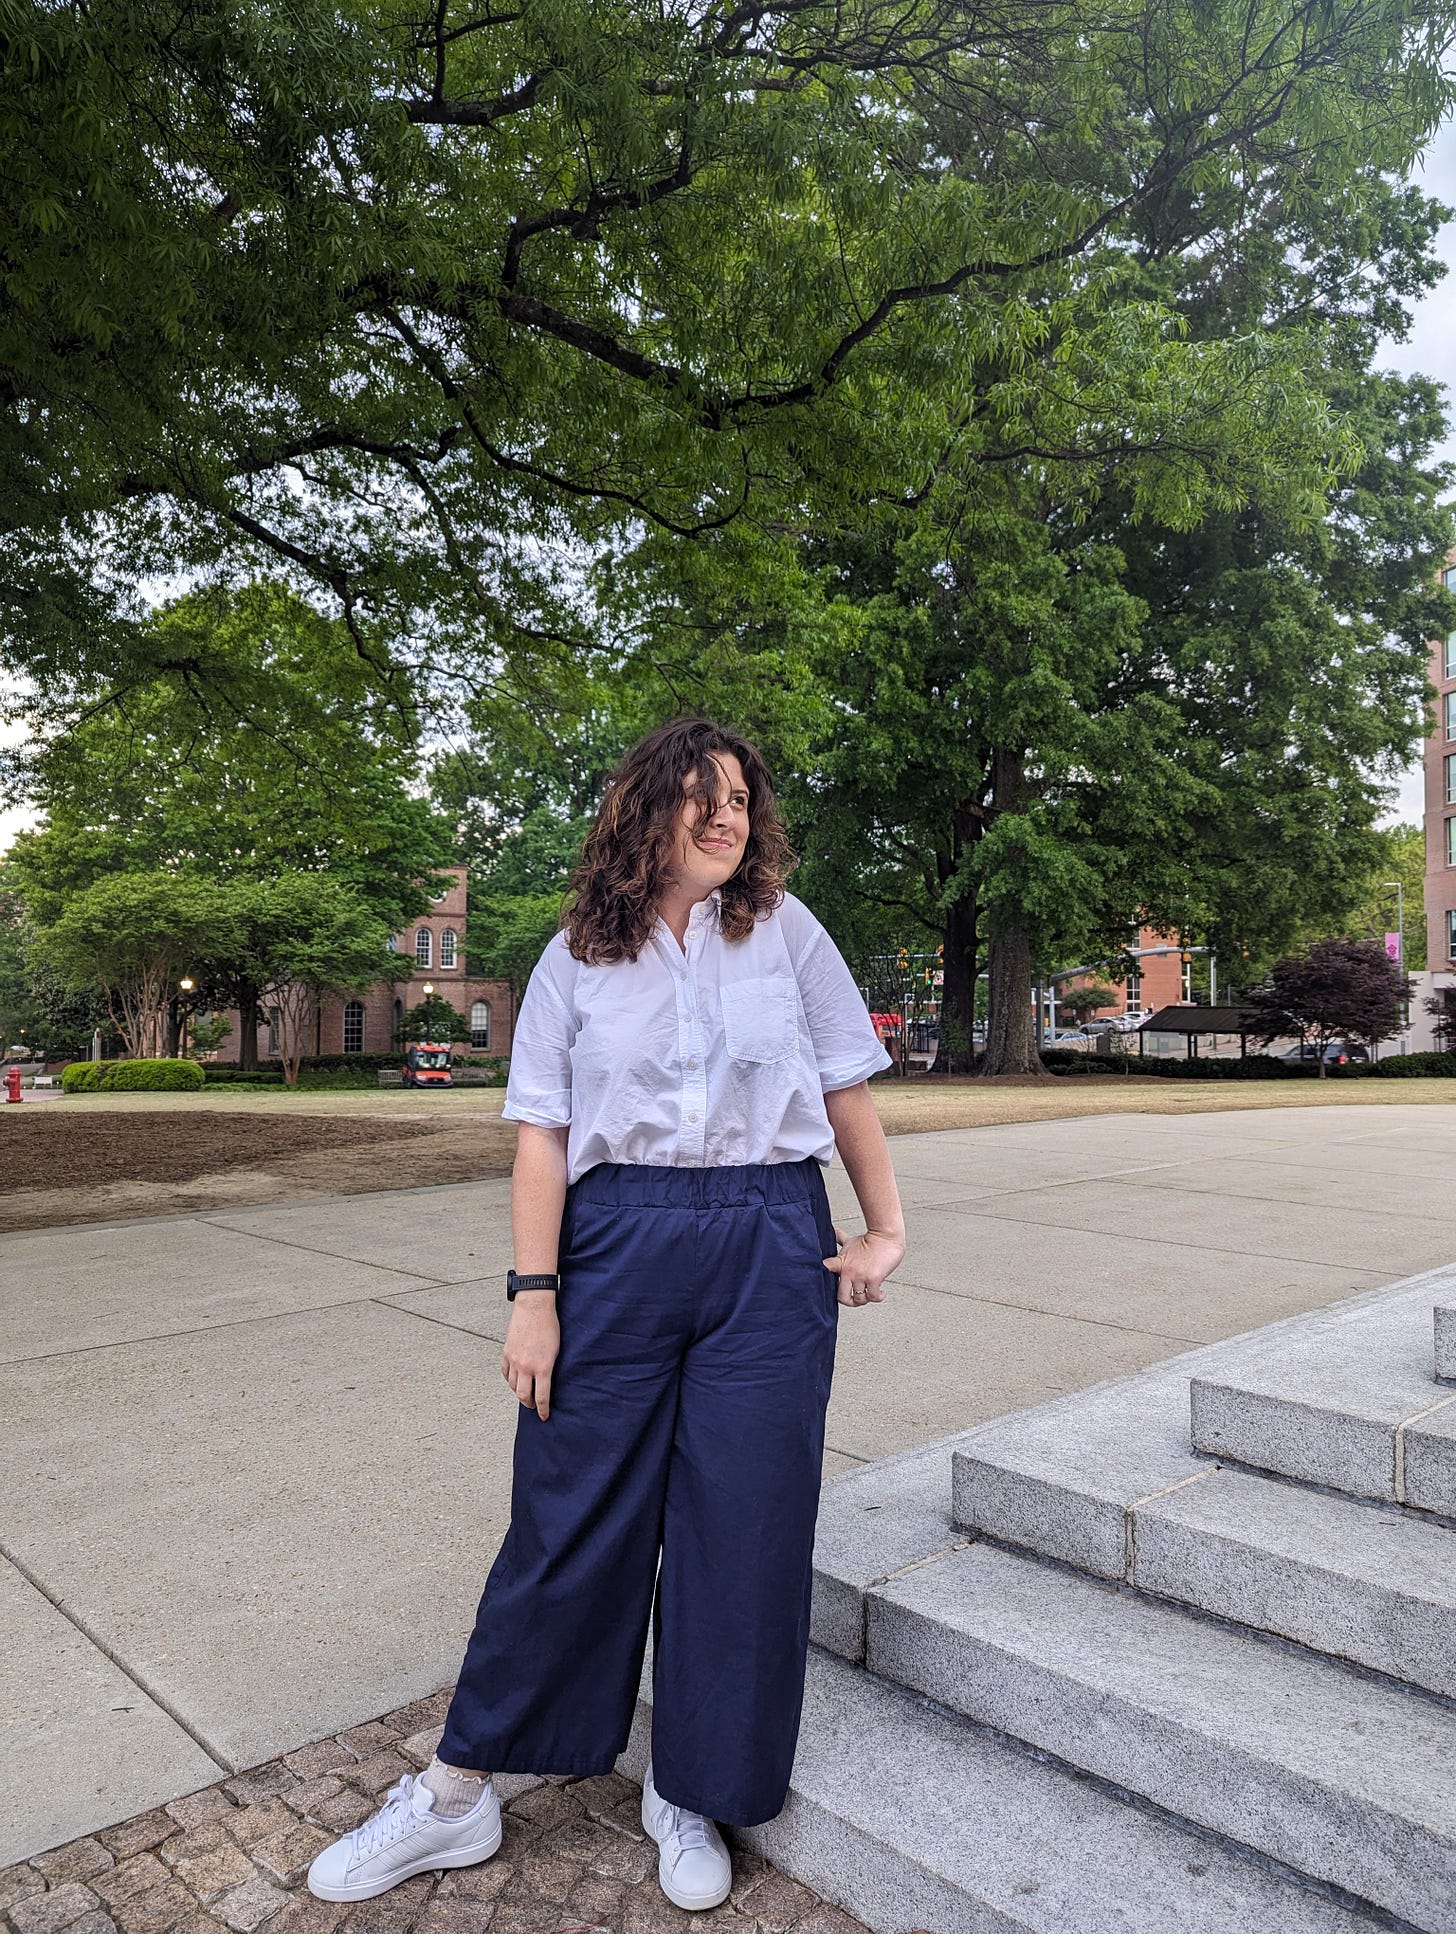
Honestly, the fit was great! I love how wide the pant legs are and the waistband fits great.
Final Product
I think it gives the easy ability to wear to work and also I could wear them with a t-shirt or tank top. Honestly I have worn them to work with a t-shirt and felt super cute/not slouchy.
Final Thoughts
Sewing wide leg pants felt a little bit like sticking it to every magazine or style guide that says if you are short you can’t wear wide pants because you will look wide and short. I kind of don’t care and I think those things are not accurate. I love the drama of the wide leg! The pockets are huge and they are baked into the weekly rotation of work wear.
Would strongly recommend this pattern! Especially since it is on sale right now!
hope you are enjoying me-made may!
cya next week.


Thanks so much for sharing your experience with the Chanterelle pants :)